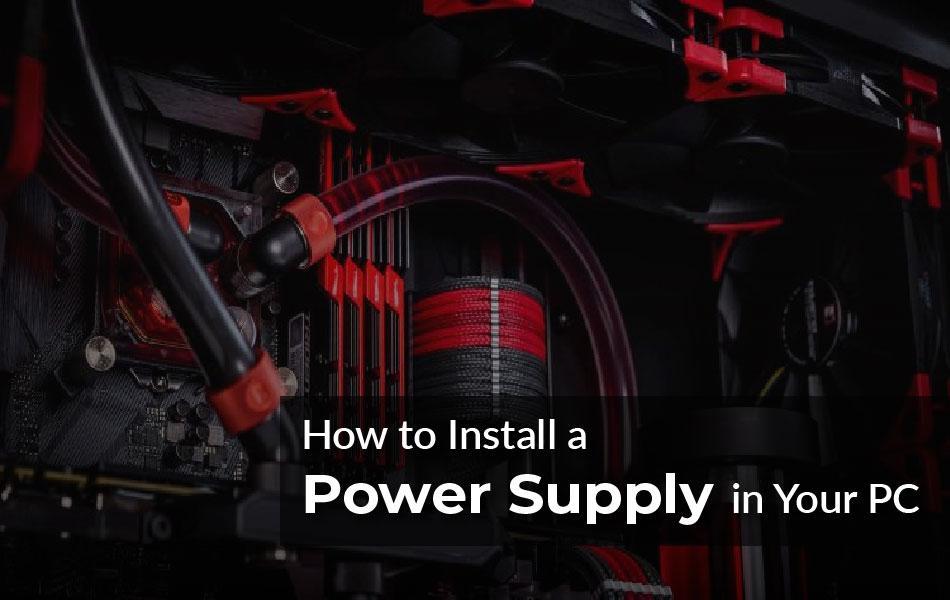


Introduction:
A reliable power supply is the bedrock of a low-maintenance, high-reliability computer. Its power supply allows power to flow from an electrical source to the computer's other components. PSUs are sometimes overlooked or relegated to the bottom of a wish list due to their unassuming appearance, yet they are the mainstay of any gaming PC.
AMD, Nvidia, and Intel among others all strive to make their components as energy-efficient as possible, but even the finest graphics card and gaming CPU require a significant amount of electricity to function correctly. If you don't provide your PC with adequate power, you'll have crashes, BSODs, and the dreaded short-circuiting, which puts your pricey hardware at risk – or worse.
Whether you're building a gaming PC for the first time, upgrading, or repairing parts (PSU), you'll need to know how to install a power supply unit at some point. But don't be put off by the wiring; it can be a painless affair. All you'll need is a screwdriver, easy access to your computer's frameworks, and perhaps some patience when it comes to cable management.
Step-by-Step Guide to Install a Power Supply in Your PC:
Simply follow our instructions for installing a power supply on your PC and you'll be up and running in no time. Also, keep in mind that if your computer comes pre-assembled, you won't need to install the power supply but you may need to upgrade it in the future.
-
Find the right power supply for your PC: The power supply you choose is determined by the motherboard and housing size of your computer, therefore you'll need to look up your motherboard model to see which power supplies will work. Power supplies are typically found in tech departments or stores, as well as online retailers such as Amazon and eBay. Make sure you purchase a power supply that is suited to your location. European power supply has different voltage settings than those utilized in North American markets.
-
Assemble your equipment: To open the CPU housing, which is usually on the right-hand side of the CPU box when looking at the back of the box, you'll need at least one screwdriver (often a Phillips's head). You could also require a different screwdriver for your power supply; check the screws that came with the power supply to see if this is the case.
-
Open the Computer Case: Remove the computer casing and open it. At this point, you should be looking at the computer's internals and then turn the computer case over so the uncovered side is facing up.
-
Set the voltage switch on the power supply: If the power source has a voltage switch, set it to 110 volts or 115 volts. This ensures that your power supply delivers enough power without causing damage to the components it's linked to. Voltage switches are not found on all power supplies, and those that do are usually set to the standard of the region for which they were purchased.
-
Determine where the power supply will be used: The computer's power cable normally plugs into the top-back area of the case since power supply units (PSUs) are typically located at the top of the case. Look for a rectangular cut-out on the rear of the case or consult your computer's instruction manual for the proper location of the power supply unit. Look for a power plug on the rear of the casing to locate the power source if you're removing an old power supply.
-
Insert the power supply in right place: A distinct "back" with connectors and a fan, as well as a "bottom" with a fan, should be present on the power supply. The "back" should face the case's rear, while the "bottom" should face the case's inside. If your computer has an old power supply, remove it first.
-
Connect the motherboard to the power source: Attach the main power line from the power supply (typically the one with the largest plug) to the long, rectangular-shaped port on the motherboard, followed by the secondary power cable. You may or may not have a secondary power cable, depending on your power supply and motherboard. A 20- or 24-pin connector is typically used to connect the power supply to the motherboard.
-
Connect the power supply to the rest of the PC’s parts: Connect the power supply to your computer's hard disc, CD drive, and graphics card with the smaller cables. If your case contains other components (such as a lighting system), you may need to connect these as well.
-
Close the Computer case and start your computer: Replace the cover on the PC, then stand it up and reconnect the power and monitor cables. Activate your PC. The fan on the power supply should turn on if everything is connected and powered properly, and your computer should boot normally. If you hear a beep but nothing happens, something is wrong inside, or the power source isn't giving enough power to your components.
Latest Power Supplies to Buy Today
The following is a list of the latest power supplies to buy today:
- Corsair RM550x.
- Corsair RM850x.
- Corsair AX1000.
- Corsair AX1600i.
- Corsair SF750.
- Cooler Master V750 GoldV2.
- XPG Core Reactor 650W.
Final Words:
Now you have a PC that will run without issue for years to come—at least without PSU-related issues. Knowing how to fix minor problems, a power supply can help you get the most bang for your buck and avoid buying a new computer.
If you want to purchase high-quality Power Supplies order online through our website harddiskdirect.